Welcome to
RedX Web Design
{ Freedom by Design }
________________________________________________
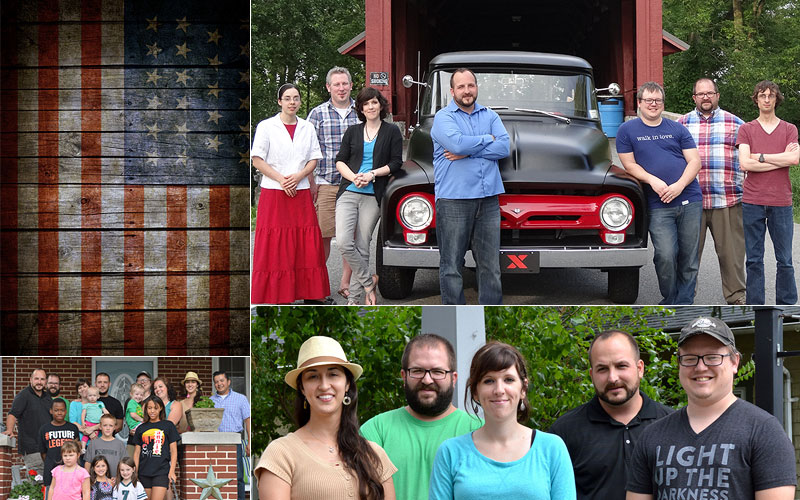
We believe in empowering our clients with the freedom to control their content & brand, freedom to set a pace that fits their schedule, easy access to their content, and training to make simple changes. Our team is dedicated to continuously improving our service, improving ourselves, and investing in each other. We have the opportunities to be generous with our time, talent, and treasure, and to honor Christ by serving others.
RedX Web Design company was established in 1999. We create remarkable websites, provide SEO services, and manage web hosting for our clients. Our creative vision for merging design with functionality and web-based software, such as WordPress, is our flagship. We design websites for various industries and we collaborate with professionals to produce multi-functional websites. Our passion as web designers drives our desire to be a leader in designing portfolio style websites for companies in Lancaster, York, & Harrisburg, PA.
Excellent web design at a fair price.


Incredible Job

Rock Star Quality

Highly rated

Outstanding service

Creativity and expertise

You know Google trends

They made it happen with ease

They were very accessible

His team exceeded our expectations

Very attentive


You must be logged in to post a comment.